1973 Datsun 240z dash install
Thanks to our customer Random240z for sharing your journey on the dash installation.
Cutting a hole for the glove box, cigarette lighter and hazard switch is required if you intend to use these components. Highly suggest doing this before Step 1.
Step 1: Remove old skin
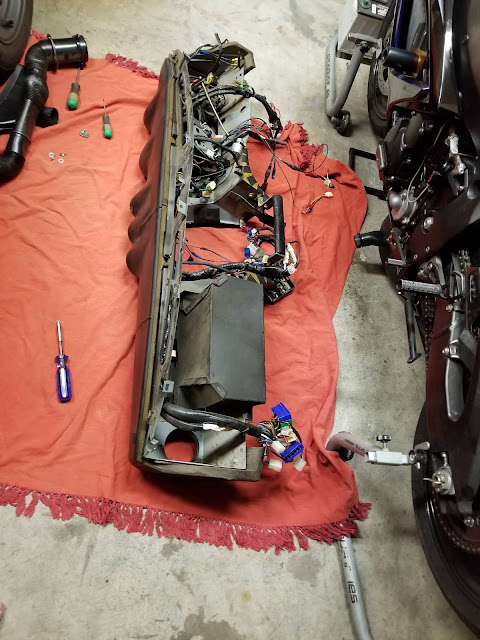


Step 5: Reinstall your gauges and everything else.

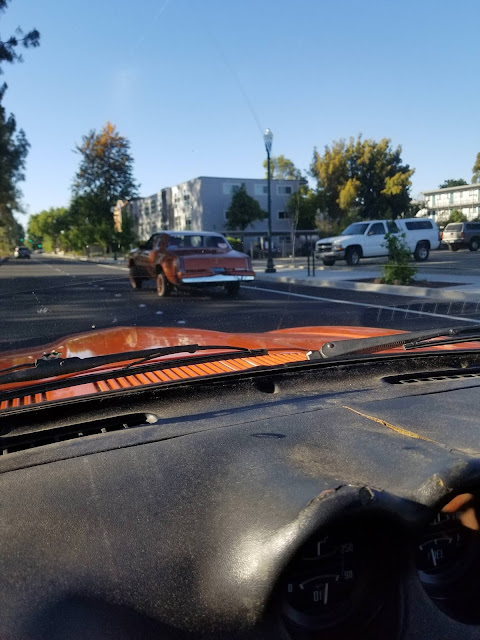
Step 6: Install in the car.

Bonus pics comparing new versus old.


Holes were trimmed using sharp xacto knife prior to step 1


Picture of how bad Random240z's OG dash was.
Cutting a hole for the glove box, cigarette lighter and hazard switch is required if you intend to use these components. Highly suggest doing this before Step 1.
Step 1: Remove old skin

OG Dash skin removed, has seen better days.

Step 2: Grab new dash skin and install on the original frame.

Muscle is optional to jerk lift 14lbs new dash

Installed new dash onto old frame. That was easy

Step 3: Install odometer reset and dash lighting potentiometer.

Use your instrument of poking as a guide.

Drill appropriate holes.

Odometer reset and dash lighting potentiometer installed.

Step 4: Install hazard and cigarette lighter. I have a 1973 which has a slightly different dash design so first I chop the bracket with a dremel tool using the bend in the bracket as a guide.

Clean up edges with a sanding drum.


Install stoge lighter bracket.

Here you can see the hazard bracket is spaced out from the dash frame.

Grab your 2x nuts of appropriate thickness and insert one between bracket. You will need longer screws with flange washers as well.

For extra support, I place the other nut under the bracket on the opposite side and run a self tapper of appropriate length.

On the opposite side of stoge lighter use a self tapper of appropriate length to secure.
Result: Looking good

Step 5: Reinstall your gauges and everything else.

Step 6: Install in the car.

Bonus pics comparing new versus old.


Holes were trimmed using sharp xacto knife prior to step 1


Picture of how bad Random240z's OG dash was.

Comments
Post a Comment